
How to set up judging and voting
Before you can start evaluating projects, you need to configure how judging will work. This includes defining your criteria, adding awards, and assigning judges.
Step 1: Enable judging
First, you must choose your evaluation method for the hackathon.
- From your hackathon page, switch to Edit mode.
-
Click the Judging icon in the Admin bar.

- You'll be presented with four options:

- Judging and Voting: Use formal criteria-based judging and allow participants or the public to vote.
- Judging only: Use formal criteria-based judging only. This is the most common option.
- Voting only: Allow for popular voting without a formal judging panel.
-
Manage judging outside the platform: Use the platform to list judges and criteria, but conduct the actual evaluation externally (like in a spreadsheet).
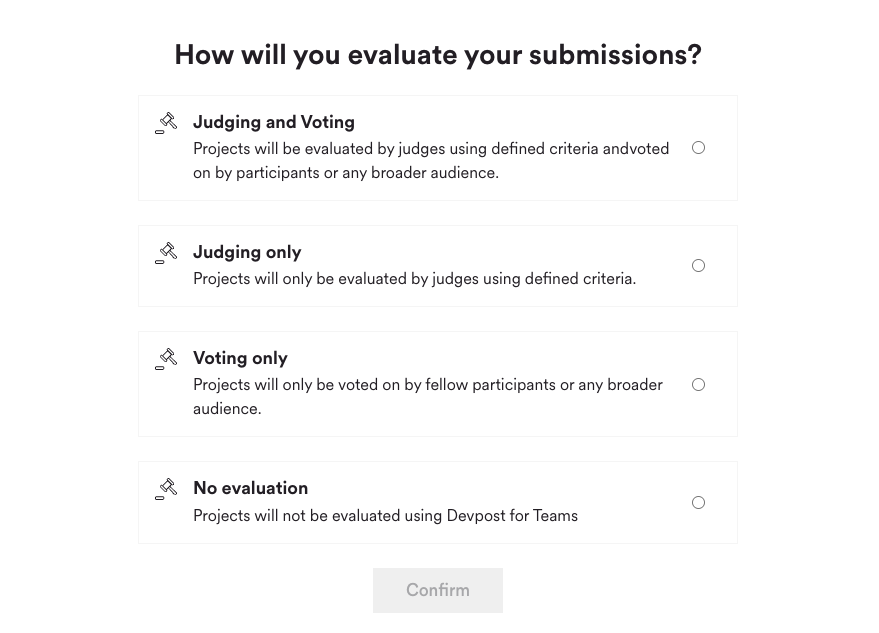

- Select Judging only or Judging and Voting to use the platform's scoring tools. Click Confirm.
Step 2: Add judging criteria
Criteria are the standards by which judges will score projects. All projects are rated on a scale of 1-5 for each criterion you add.
- In the judging setup guide on the left, click Criteria.
- Add up to six clear and distinct criteria (like "Technical Implementation," "Business Value," or "Innovation").

Step 3: Add awards
You must have at least one award set up to start a judging round.
- Go to the Awards section.
- Click + AWARD to create prizes. You can create:
- Ranked awards: Grouped prizes like 1st, 2nd, and 3rd place.

- Unranked awards: Standalone prizes for categories like "Best Design" or "Most Innovative."

Step 4: Add judges
Finally, assign your judges.
- Go to the Judges screen.
- In the "Add Judge" field, type the name or email of a coworker who is a Member of your organization's Hackathon Center.
- To add a Guest Judge (someone from outside your organization):
- The guest must first be invited to and register for the hackathon as a Guest participant.
- After they are registered, you can search for their name and add them as a judge.

